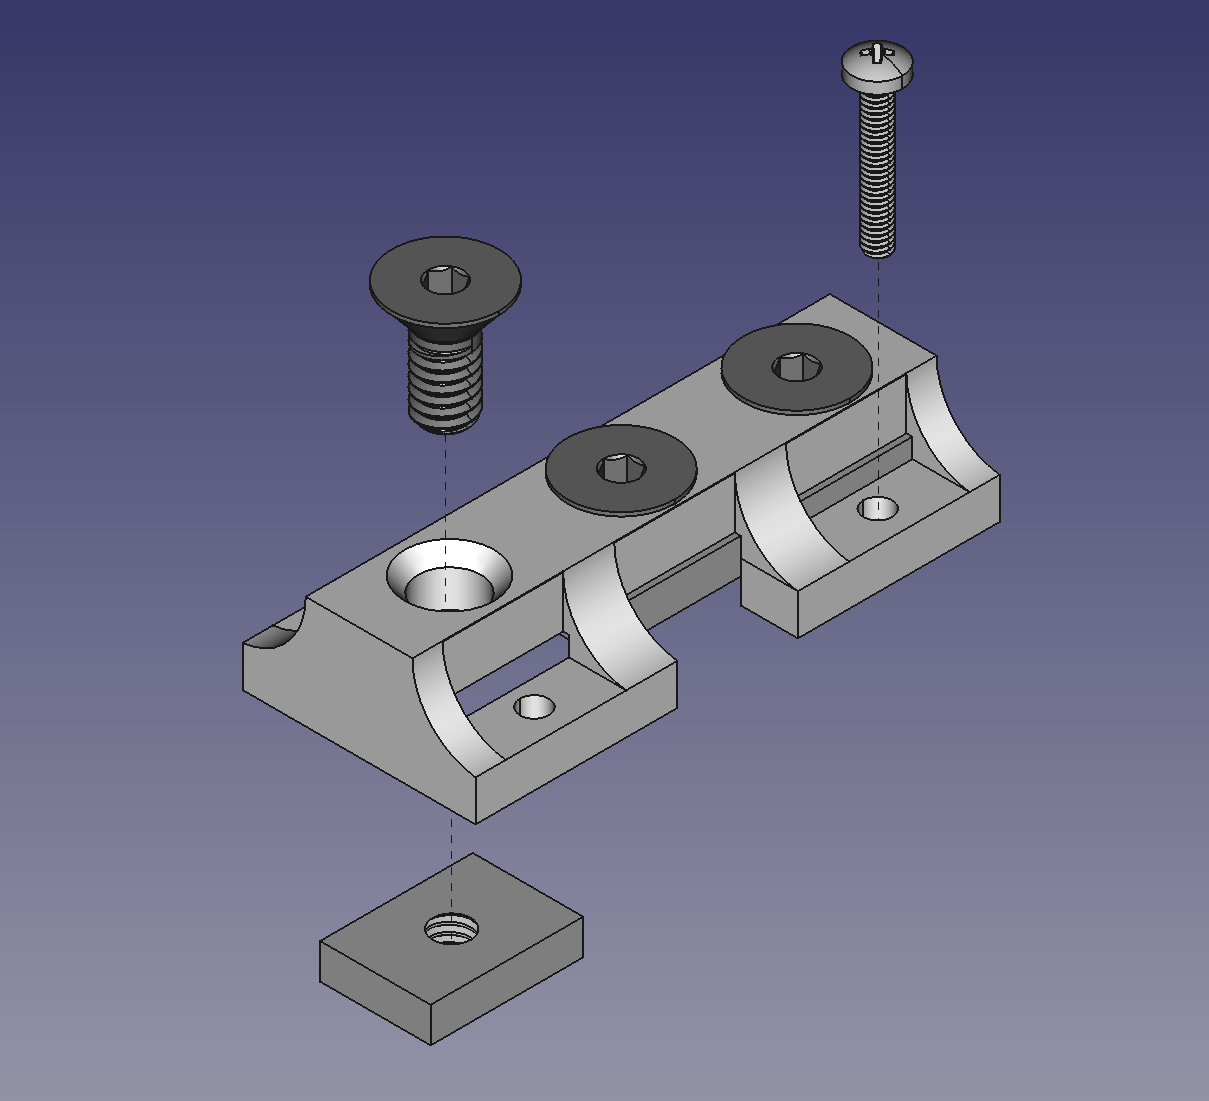
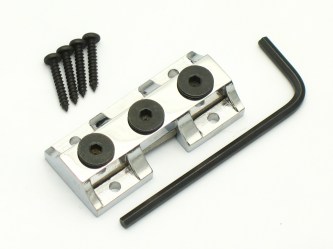
Kahler variable spacing string locks hold strings securely with steel to eliminate string cutting. They lock the strings behind the nut so you have control of string spacing, height, and arc, as well as nut material. Click on the picture of a string lock to go to the listing for it or the exploded view to see the explosion animated. To see the exploded view in greater detail with parts listed go to the Kahler Stringlocks category.
5513 Standard String Lock

 The original Kahler standard stringlock is still the simplest design and easiest to install string lock on the market. The mounting block has front and rear pillars for easy self-alignment of strings. Strings are secured against steel surfaces and tightened with allen bolts.
5514 Pro/Deluxe String Lock

 The Pro version of the Kahler stringlock offers the same dependability of the original proven design with the convenience of no-wrench operation. Strings are secured against steel surfaces tightened by lever driven wedges. The clamping of each pair of strings can be adjusted by hand via a knurled bolt.
Installation Instructions
Note: Mount the string lock as close as possible to the guitar's nut.
- If you have a Pro/Deluxe string lock, disassemble the locking levers by raising the levers up and unscrewing the retaining pin from the side of the assembly. With the pin and levers removed you will have access to all four holes through which the mounting screws pass.
- If you have a bullet type truss rod projecting from the headstock replace it with a Kahler Truss Rod Bullet replacement (optional, sold separately).
- Detach the strings from the tuning pegs and set the string lock loosely on the headstock behind the nut, but as close to the nut as possible. Generally speaking the notch side of the string lock should be facing the tuning pegs to give you better access to the truss rod adjustment but there are exceptions and the string lock will work facing either direction.
- Re-attach the two outside guitar strings (high and low E) by passing them over the nut, passing them through the string lock, and attaching them to the tuners. Wind a slight amount of tension on them from the tuners.
- Ideally, the strings should now be holding the string lock approximately 1/16th of an inch above the surface of the headstock. If this distance is greater, a shim (sold separately, flat and curved available) is needed to support the string lock. If the string lock is touching the surface of the headstock slide it away from the nut until it rises slightly off the surface. This is the best location for the string lock because when it is screwed down it will pull the strings snugly into the nut slots. It will also be close to the nut, which eliminates potential tuning problems.
- Firmly hold the string lock in position and carefully drill down through one of the four mounting holes with a 1/16 of an inch diameter drill bit. Be careful to not drill all the way through the headstock.
- Install a mounting screw into the one hole and tighten the string lock snugly into place.
- Drill the remaining 3 holes, again being careful to not drill all the way through the headstock.
- Install the three remaining mounting screws.
- If you have a Pro/Deluxe string lock, replace the three locking levers and screw in the lever pin which holds them in place.
To adjust the clamping strength on a Deluxe/Pro string lock, lift the lever and use your fingers to tighten or loosen the knurled screw to about where it feels right then flip the lever down. If it feels too tight or loose turn the screw 1/4 turn in either direction and try again. Keep doing that until it clamps down snugly without having to struggle to get the lever down. It should have a nice satisfying snap when it's adjusted correctly. Note that no tools should ever be needed to adjust the clamping strength, however, there is a slot for a screwdriver there just in case it gets really tight and you need to break it loose.


